

23 Jan Fly Fishing Photography: The Basics
This blog post is an introduction to the application of photography and fly fishing. It will include a brief overview of how a camera works, fly fishing photography tips, gear recommendations, and how to take fly fishing photos like the pros!
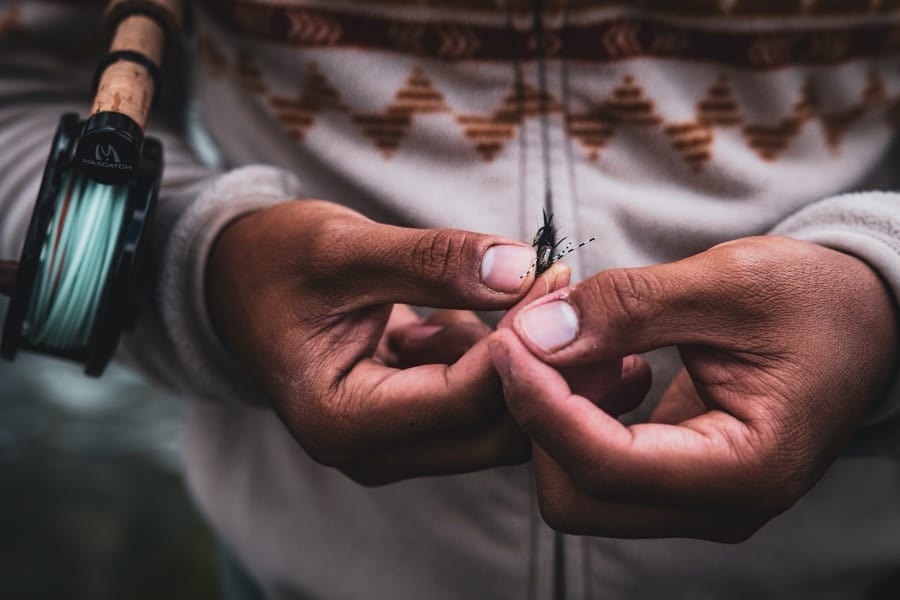
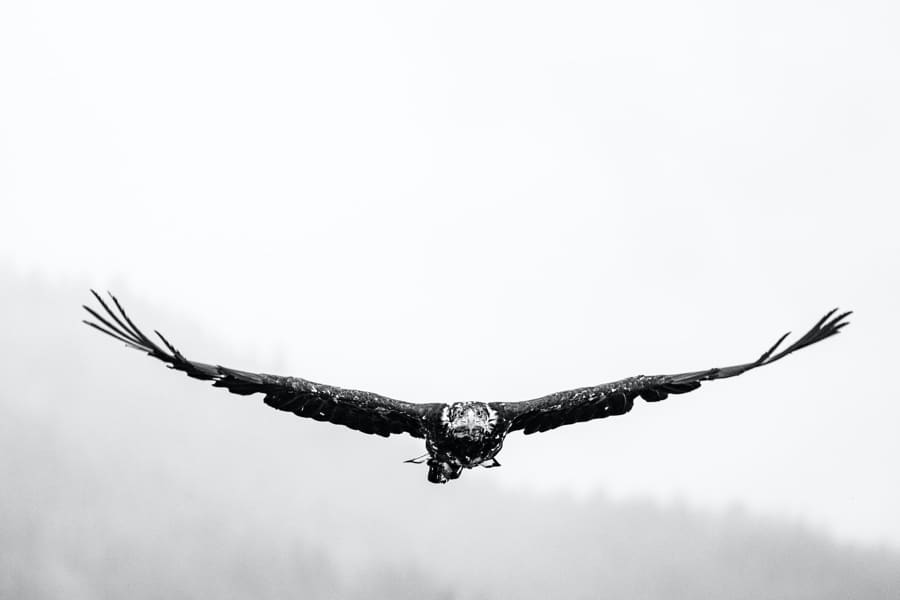
Capturing simple moments often makes for the most interesting photos © Austin Heffelfinger
STARTING WITH THE BASICS
Photography has been around since the early 1800’s as a medium to provide a still image of a subject. An image is created by light reflecting off an object into the lens of a camera, and channeled into the camera body itself. This is where all the light “data” is turned into a photograph. There are three key components to understand when it comes to creating a photograph while using your camera.
1. The Aperture
2. The Shutter Speed
3. The ISO
These three factors channel the correct light to create a sharp, clear and properly exposed image. Below you’ll find a brief overview of each in terms of how they pertain to fly fishing photography.

A recent feature of mine Swing Season for Sage Fly Fishing © Austin Heffelfinger
1. Aperture
Aperture dictates the amount of light that enters through the lens to the camera sensor. A lower number represents more light entering the lens, and a higher number means less light.
The aperture also controls the depth of field, or how much of the image will be focused. For example, in a landscape shot with a lake and mountains in the background, you want to have a minimum aperture (a higher number, less light entering) to increase the depth of field. This ensures the lake, forest and mountains in your shot will be in focus. By controlling the aperture, you can create some very unique and interesting shots.
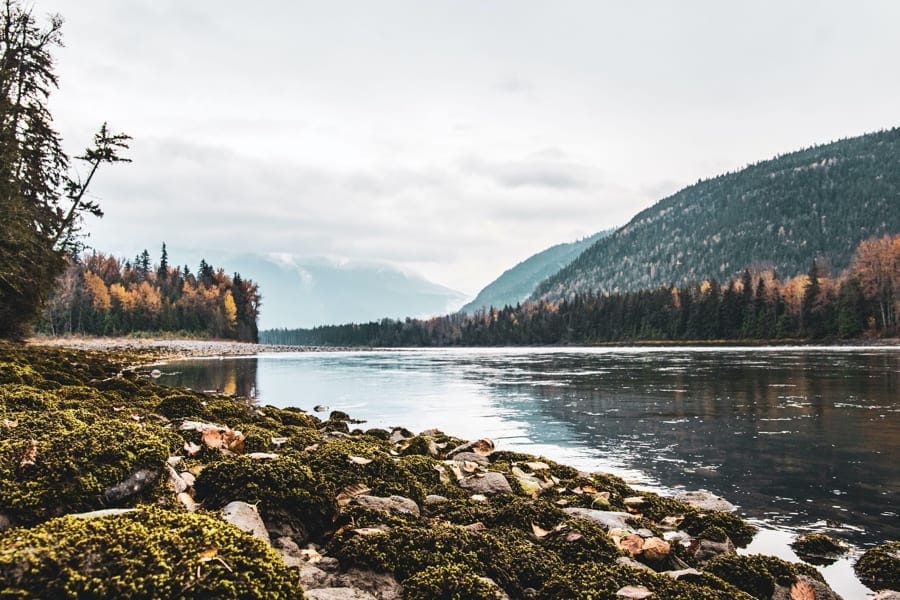
A classic BC Fall scene, the Skeena River near Terrace BC © Austin Heffelfinger
2. Shutter Speed
This describes how much time ambient light is given to hit the sensor of the camera, which is then taken as “data” to create your image. Shutter speed is measured in fractions. For example, a shutter speed of 1/60 means the shutter is open for one sixtieth of a second.
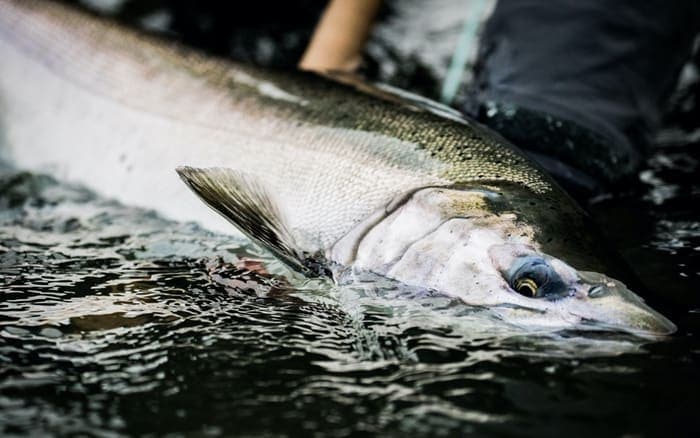
A faster shutter speed allows the camera to freeze a faster moving object, while a slow shutter speed will result in a motion blur of that object. Slowing your shutter speed while capturing a photo of a river can result in that classic soft, misty effect of the moving water. While increasing your shutter speed will allow you to capture the water dripping off a fish with clarity.
3. ISO
This element takes into account how sensitive the actual camera sensor is towards the light. A higher ISO number means the sensor is taking in more light to create the image. Generally, the image quality will decrease as you ramp up the ISO, due to the creation of “noise”, which results in grainy images.
Ideally, the lower the ISO the better. It all comes down to what you think is acceptable for image quality and what your camera and lens combination can handle to create a solid image. When you are shooting in low light conditions, you will usually have to increase your ISO in order to get a properly exposed image.
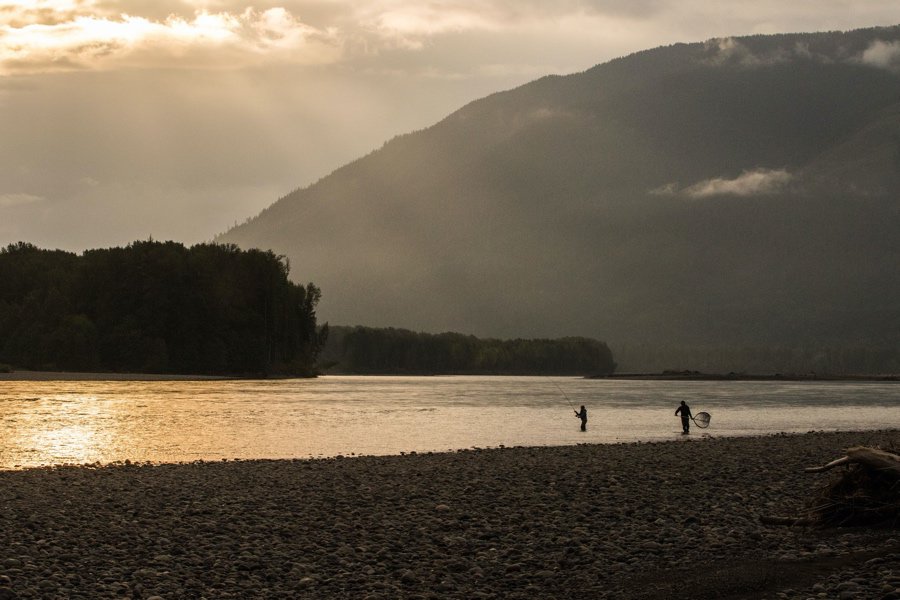
Some late day light on the Skeena River © Austin Heffelfinger
WORKING WITH ALL 3 ELEMENTS
With modern digital cameras today, almost all of them have a full automatic mode that processes the light without the need to manually adjust the settings on your camera. As well, there is aperture and shutter priority modes that give you a semi-automatic process to create your images.
Using your camera manually allows you to fully understand how your camera works, and it also gives you the opportunity to create those unique images that defines your work from the rest. At the end of the day, it’s all about getting out there to practice and play around with the light. When it comes to photography, light is everything!
Getting your aperture, shutter speed and ISO dialled in will have its rewards © Austin Heffelfinger
FLY FISHING PHOTOGRAPHY TIPS
I’ve been lucky enough to have worked as a fly fishing photographer over the past decade, taking me to some incredible regions of British Columbia. Sometimes I’d rather be fishing than taking photos, but when I get those few shots that really stick, then it’s all worthwhile. How do I get those special photos? Here’s a few little fly fishing photography tips that I use all the time…
The Best Investment
Spend your most of your money on lenses or “glass”. Great quality glass will increase your image quality and allow you to be more dynamic and creative with your images. Glass is one of the big factors that distinguishes great photos from good photos.
Composition is Key
One of my biggest pet peeves when looking at someone’s work is seeing that the horizontal line is uneven behind the subject. Lightroom is a great editing program to help fine tune your images. Using the “rule of thirds” can help manage your background and subject to create a beautiful and memorable shot. That doesn’t mean you have to use it in every shot, but it can help create a stand out image with great composition. Deciding your distance from your subject can also contribute to the effect you are looking to convey with your photograph.
Light is Everything
I cannot stress this enough. By combining the right aperture, shutter speed and ISO, as well as harnessing natural light to your advantage, you can create some incredible images. Try to avoid shooting directly into the sun or other sources of harsh bright light. Like fly fishing, it takes a bit of practice, but you will see a drastic shift in the quality of your images once you understand the impact lighting.
Embrace Creativeness
You don’t need the best gear to create a quality image. Sure, you can spend thousands of dollars on camera gear, but at the end of the day it’s all about the creativity that comes from you! The camera is not going to take the picture itself. There are lot of excellent photographers capturing the sport of fly fishing. The reason their photos are interesting is because of the vantage point, the lighting or the creativity they’ve used to capture that moment. Grabbing the attention of the viewer won’t cost you much except some time and some imagination.
Gear Recommendations
I’ll do another post on this subject, but I wanted this post to cover the basics of fly fishing photography. Here are a few tips and thoughts on getting yourself set up with some good gear that you can grow your skills with…
Camera Body
Canon, Nikon and Sony are leading the charge with camera body technology. It really comes down to your budget and what you are willing to spend. Buying second hand gear is always a great option, but remember to check that the gear is in working order and hasn’t been abused by the previous owner.
Lenses or Glass
This is where you want to spend the majority of your budget. Having quality glass with help with your image quality and give you more flexibility to shoot in varying light conditions. Canon, Nikon, Sigma and Sony have been putting out great lenses. Sigma has really stepped it up over the past five years with their lenses–the “Art” series is a less expensive price point than the big three. Again, keep an eye out for second hand lenses. Whether you’re shooting people, wildlife or scenery, it is a good idea to have a few lenses to capture what is around you.
- For landscapes, an ultra-wide zoom in the 16mm-35mm is great.
- For wildlife, having a telephoto zoom in the 70mm-300mm range is ideal.
If I had to pick just one lens, it would be in the 24mm-70mm focal range, as this allows you to cover quite a few scenarios on the river.
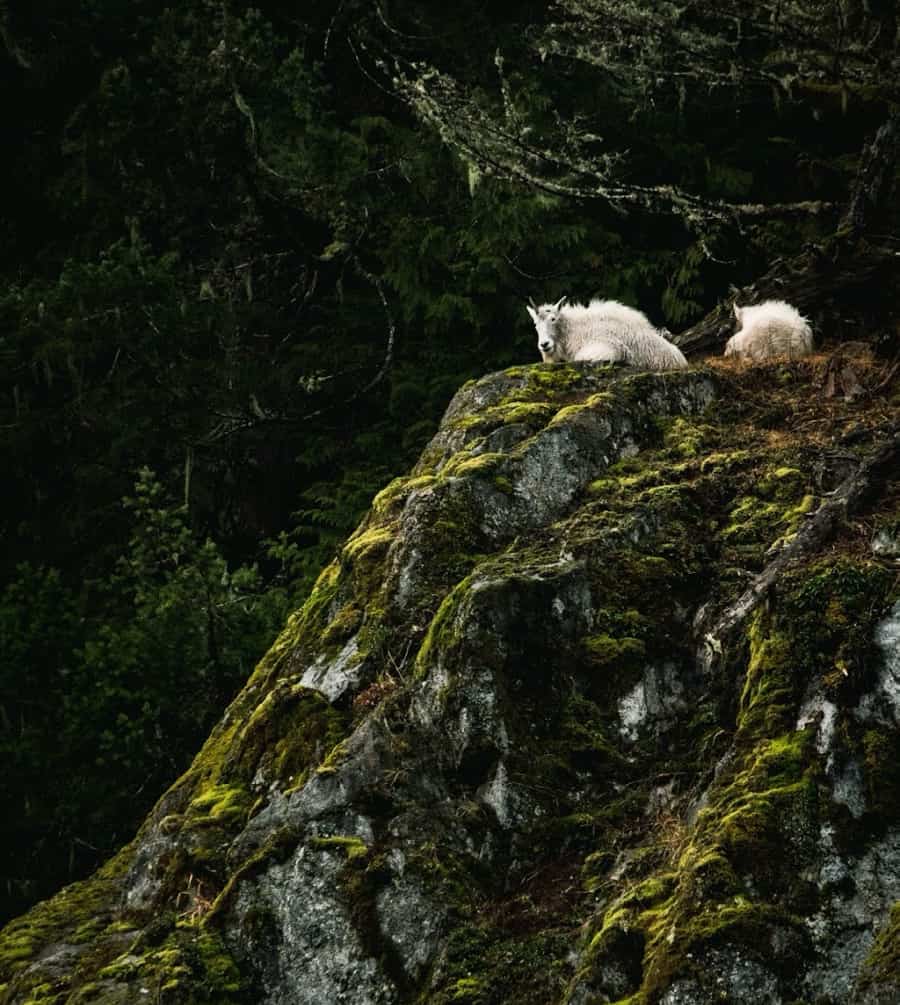
It’s moments like this when I’m happy I carried a few more lenses along on my day © Austin Heffelfinger
WRAPPING IT UP – FOR NOW ANYWAYS
Alright so you’ve made it through this introduction to fly fishing photography . This was obviously a basic rundown of getting started, but I am planning on making photography posts a bit more regular. If you have a suggestion on fishing photography that you’d like to see covered please contact me at the links below in my bio. Let’s briefly summarize the main highlights:
- Utilizing the light conditions is crucial to capturing quality images. This can be done by adjusting your aperture, shutter speed and ISO.
- Spend the bulk of your budget on your lenses and don’t be afraid to buy second hand gear.
- Your own creativity is more important than the fancy gear! It’s not the camera creating the shot, it’s you the photographer making it happen.
Most importantly, enjoy your time on the water, explore new areas and be mindful of how you use your photos. Thanks for the read and feel free to share this post if you’d like. I’ll be back soon with some more advanced fly fishing photography tips!

Steelhead Macro © Austin Heffelfinger
About the Author
Austin Heffelfinger is a full time fly fishing guide with Chromer Sport Fishing, a guiding company and booking agency based in British Columbia. He is also an accomplished photographer with works published in many notable fly fishing publications. You can follow him at the links below.